- Direct Connector
- Secure Data Sharing
- Native App
Kumo can directly connect to your Snowflake data warehouse. This connection method ensures that all data stays in your control and preserves the integrity and security of your environment. This way of connection is recommended for running Kumo in production.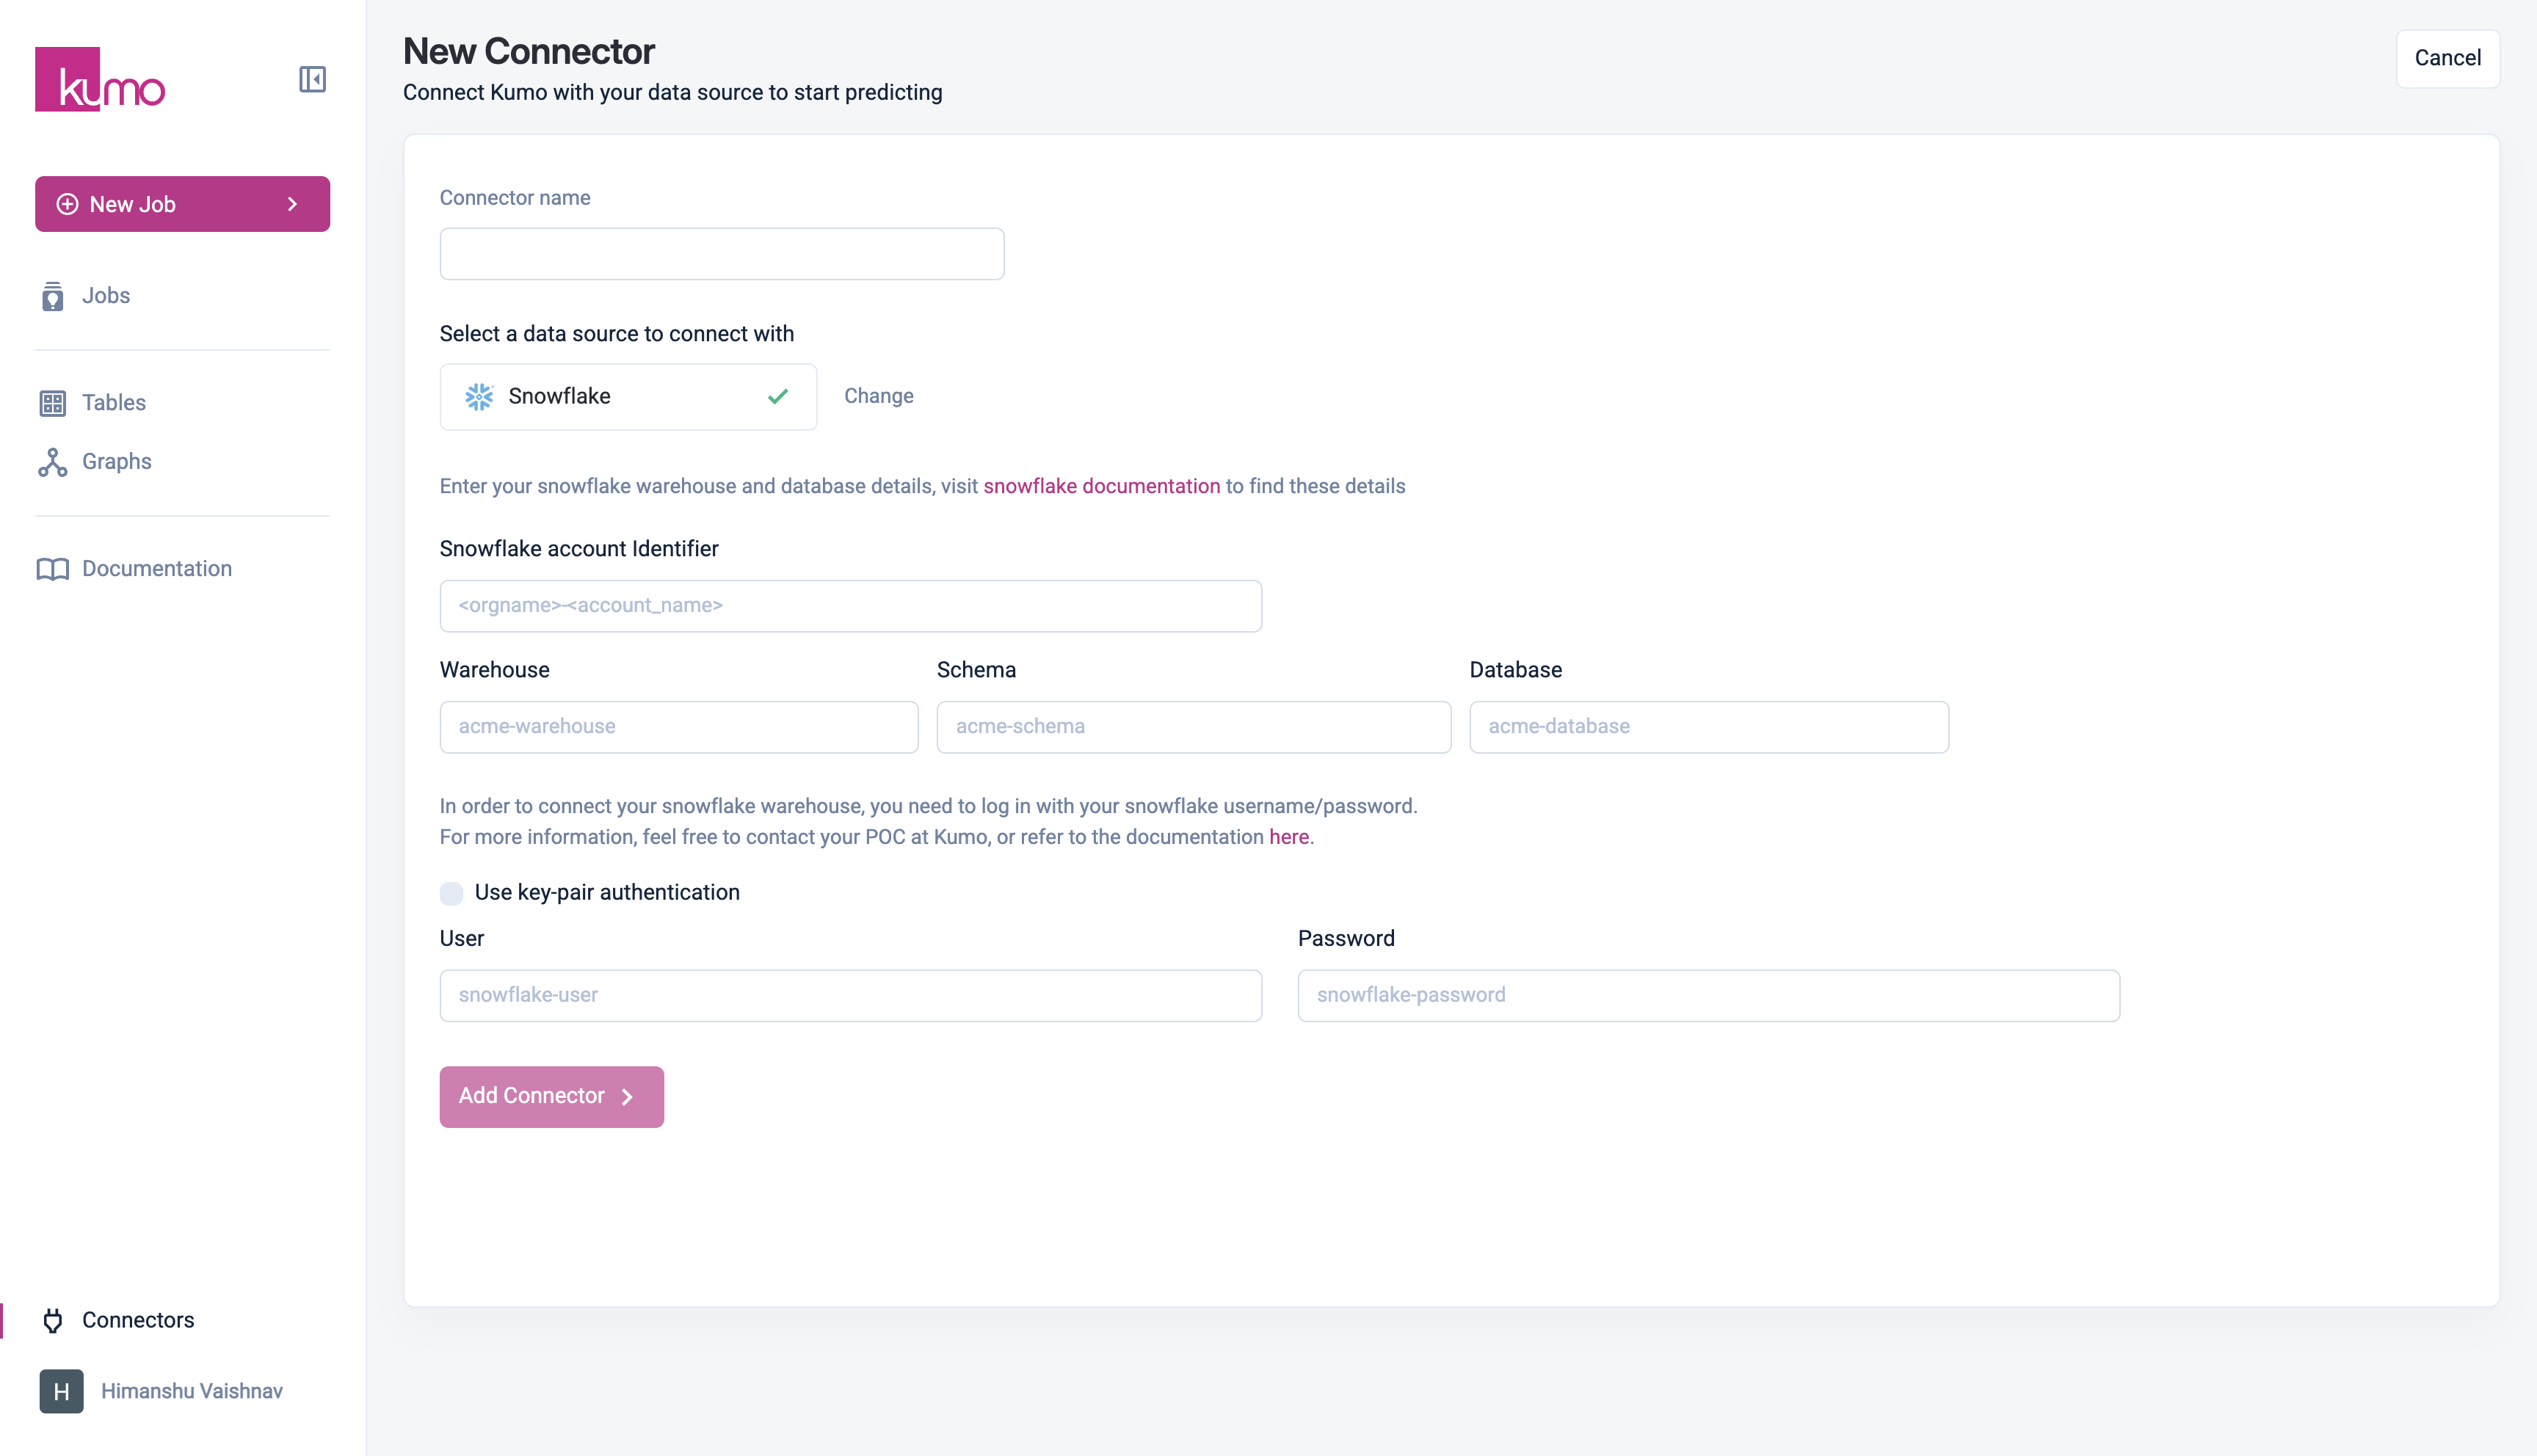

- To set up a new Snowflake direct connection, click on Connectors in the left-hand column, followed by the Configure Connector button on the “Connectors” page.
- On the “New Connector” window, provide a name for your new Snowflake connector and click the Snowflake button. The configuration settings for connecting to your Snowflake data warehouse will immediately appear below.
- Provide the following details in the Snowflake Warehouse section to connect your Snowflake data warehouse:
- Account Identifier - The account identifier uniquely identifies your Snowflake account. This should be provided as
ORGNAME-ACCOUNT_NAME. TheORGNAMEandACCOUNT_NAMEcan be retrieved for your Snowflake account using the instructions here. - Database - The Snowflake database where the input relational data exists. The user who is authenticating must have a
DEFAULT_ROLEwithUSAGEprivileges to this database. - Warehouse - The warehouse that will be used to read and process data in Snowflake. The user who is authenticating must have a
DEFAULT_ROLEwithUSAGEprivileges to this warehouse. - Schema Name - The schema under the Database where the input tables are to be loaded from. Make sure that the user who is authenticating has a role that has
USAGEandSELECTprivileges on the schema. If predictions are to be written back using this connector, the user’sDEFAULT_ROLEshould haveCREATE TABLEprivilege on this schema. - User - The username that you want to use to connect to Snowflake.
- Password - The password of the user who is connecting the connector.
Using key-pair authentication
For Snowflake accounts with MFA or SSO enabled, Kumo requires the use of public key authentication, either with a regular user account that has a key-pair setup in addition to a username and password, or with a “service” account which does not have a username and password login (see CREATE USER for creating service accounts).To use Kumo with a key-pair authorization, first generate a private key (encrypted or unencrypted) and then a corresponding public key. See Snowflake documentation on how to do this with OpenSSL. Next, assign the public key to an existing Snowflake user with the command (excluding delimiters from the key):ALTER USER example_user SET RSA_PUBLIC_KEY='MIIBIjANBgkqh...';Note that this must be done by the owner of the user or a user with SECURITYADMIN role or higher. Alternatively, create a new user with the RSA_PUBLIC_KEY field set (see CREATE USER).When a new user or service user is created with the key-pair authentication configured, this user’s role must also be assigned the necessary privileges to access the data (see below for the minimum required privileges to connect data in Kumo).Now instead of “User” and “Password” credentials, key-pair authentication can be used to configure a Snowflake connector in Kumo. On the New Connector window, toggle on “Key-Pair Authentication” and enter the “User” and “Private key”. If the “Private key” is encrypted enter the “Key Passphrase”; otherwise passphrase can be left blank. The private key should be entered with line breaks preserved.Click on the Done button to save your new Snowflake connector.Minimum privileges required for the connecting user
The following is the minimum set of privileges required to create a Snowflake connector to read data into Kumo and write predictions back. The default role of the user (user_role in the commands below) used to create the Snowflake Connector must be granted these privileges to successfully connect your Snowflake data to Kumo.The commands below assume you are connecting a Database called customer_db and schema customer_schema in that Database using a warehouse customer_warehouseVPN-Protected Snowflake Instances
If your Snowflake instance is behind a VPN, you will need to add the Kumo Cloud Network gateway to your allowlist. More information can be found here.Snowflake Data Warehouse Sizing
Kumo recommends the following data warehousing size guidelines, based on the total data size of your largest table:| Largest Table Size | Warehouse size (SaaS) |
|---|---|
| Up to 10 GB | Small |
| Up to 50 GB | Large |
| Up to 100 GB | Large |
| Up to 1 TB | 4x-Large |

